How to paint with watercolors: a beginner’s guide
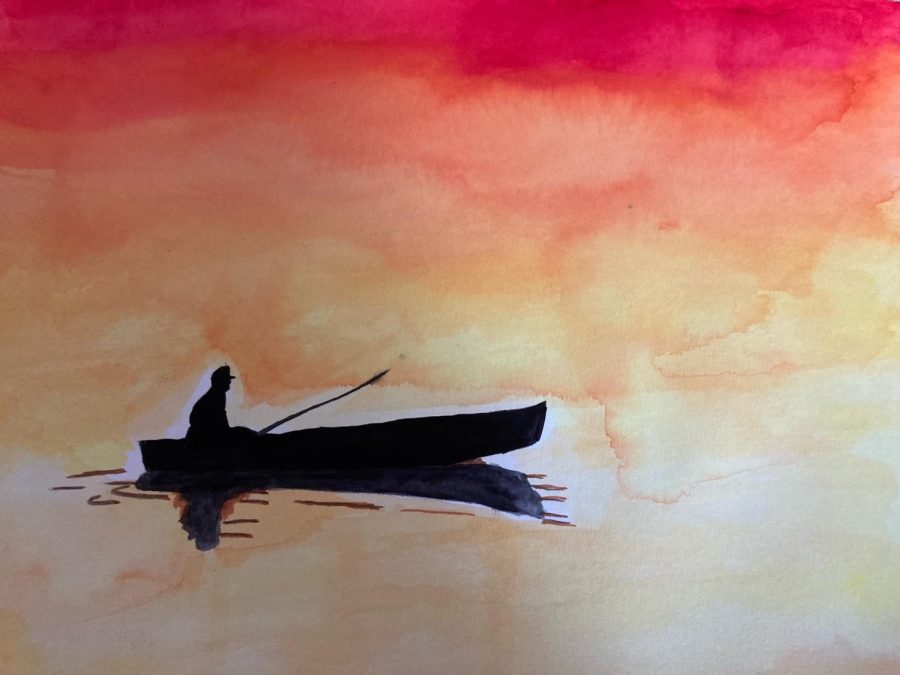
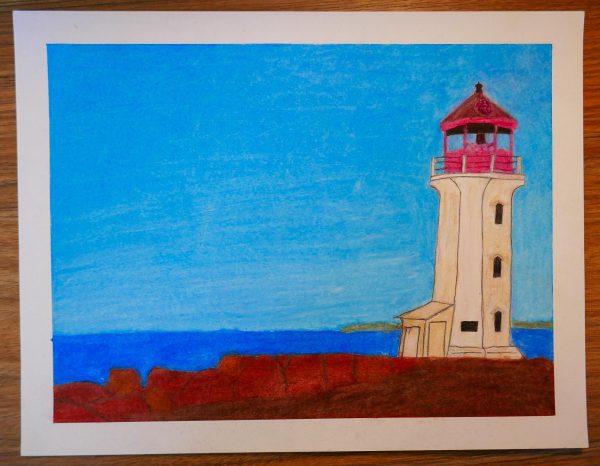
Made using the wet-on-wet technique and the dry-on-dry technique.
Painting with watercolors can be challenging because it seems daunting to try to control where the paint goes. In fact, that is the beauty of watercolors: the paint goes where it wants to. With that said, here are some techniques that you can use to make the process a little bit easier.
The wet-on-wet technique. This method achieves a fluid and uncontrolled look. It is best used for painting large surfaces such as the sky or the ocean. First, wet a clean brush in water and use that to wet the surface of the paper. Then add paint to the brush and begin painting!
The wet-on-dry technique. This technique is the most widely known when it comes to watercolors. It allows for a more intentional look than the wet-on-wet technique and better blending for shadows or highlights. First, dip your brush in water and begin to paint, blending as needed. (It is important to note that too much blending will muddy the colors you are working with).
The dry-on-dry technique. This technique allows you to have the most control over where the paint goes. Because you are using the least amount of water possible, the paint does not fade or bleed, unless you are painting over an already wet area. This method is very good for creating a rough texture or exact lines. Use the minimum amount of water to get the paint onto your brush and begin to paint. Make sure not to use too much water or the color will be washed.
The dry-on-wet technique. The technique allows for a very blurry, faded look. It is best for bleeded, uncontrolled looks. Begin by painting the surface of your paper with any color of paint. While the paint is still wet, use another color to paint over it. Do not paint over the entire surface; this technique should be used for specific strokes. You’ll notice that while you can control where the paint goes, the ends are a little fuzzy.

