
This is how I make my pine pitch wood finish.
Pine pitch making is remarkably easy.
I start by collecting pine sap from wounded pine trees.
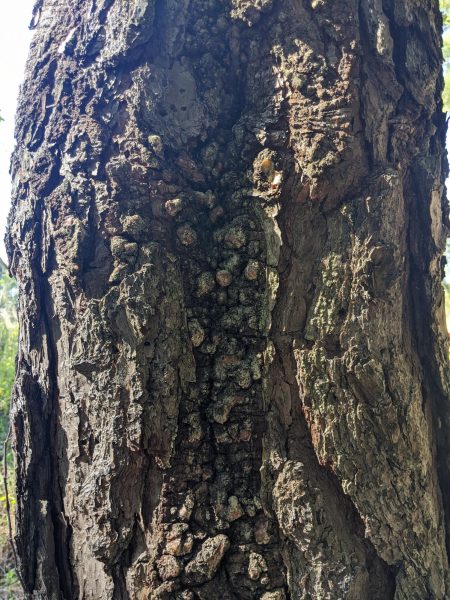
When searching for pine trees, I prefer old wounds that are covered in hardened sap.
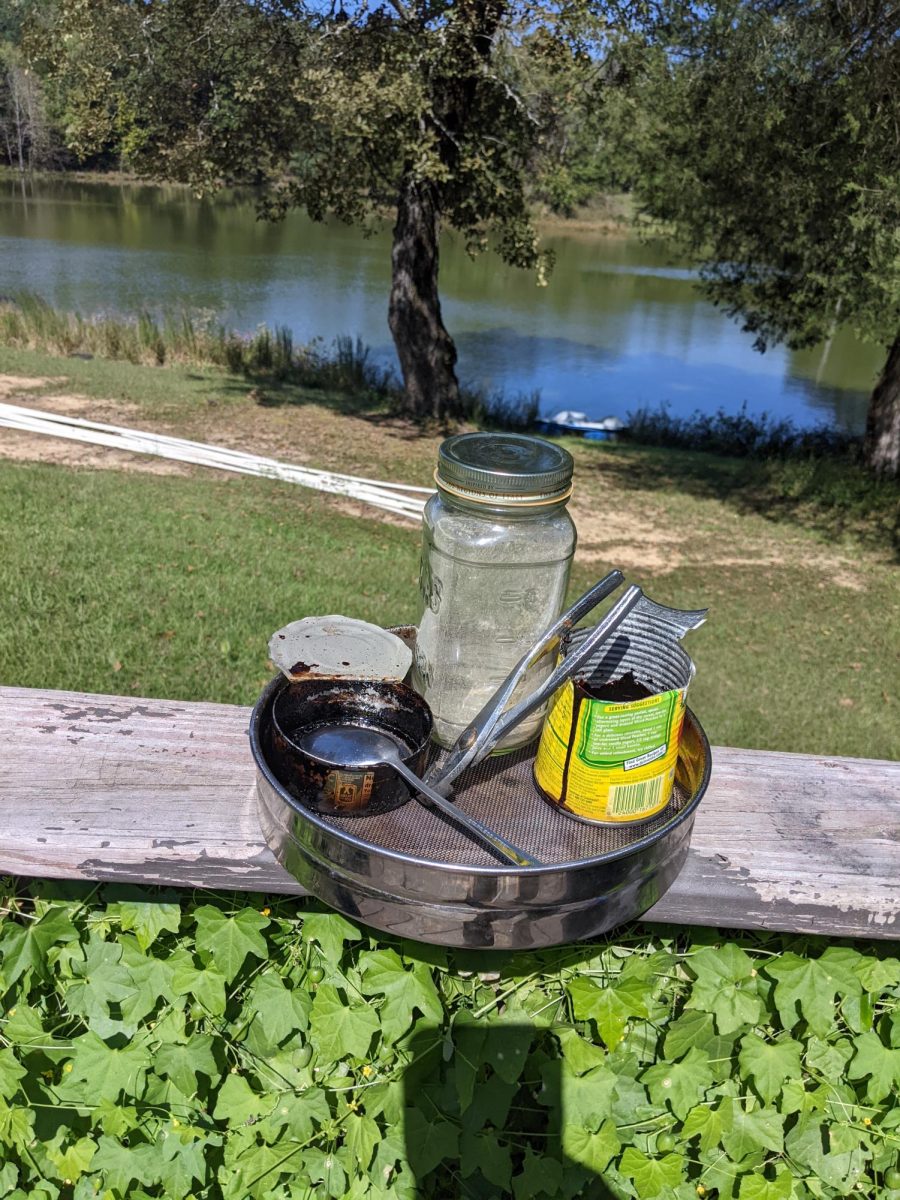
I collect this sap in a jar by scraping, chipping, and picking away the sap.
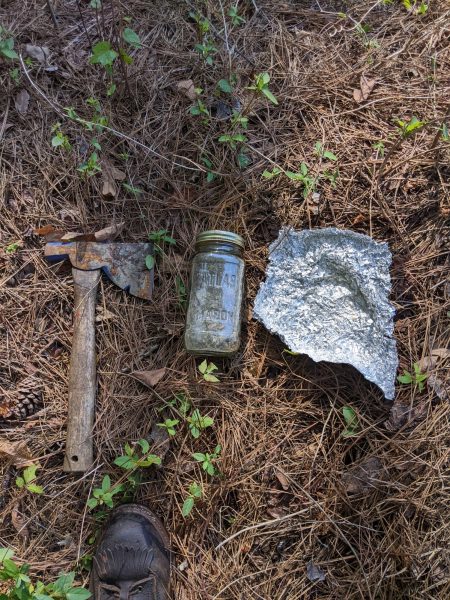
For this, I like to use a carpenter’s hatchet, because of the hammer on the back that is perfect for cracking off stuck sap without damaging the tree, as well as its sharp edge that I use for chipping and scraping.
Once gathered, I put this pine sap into an old can that I place over either a portable cooktop or an open fire.
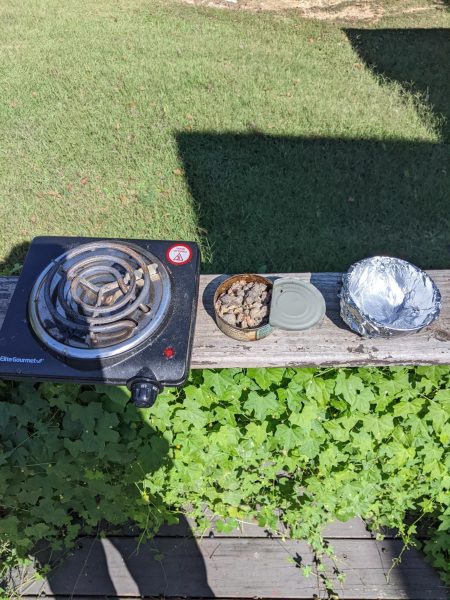
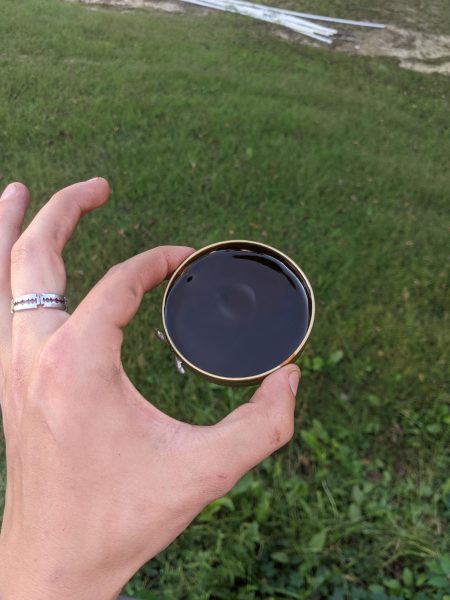
I do this outside because it generates a lot of smoke. As long as it’s not burning, the temperature does not matter; I just cook until it turns black.
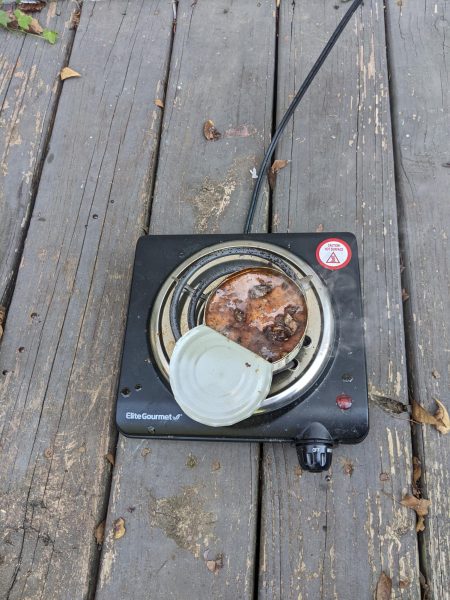
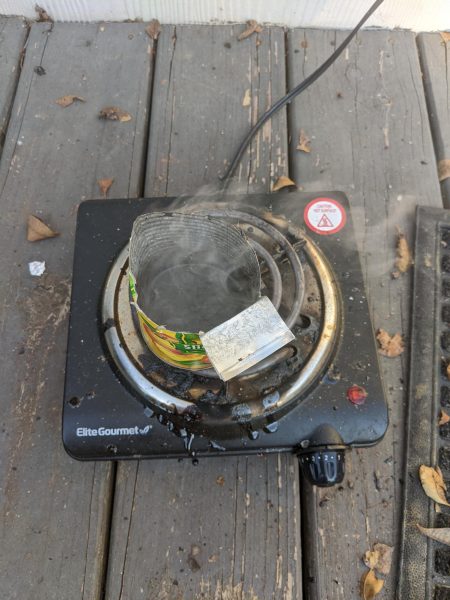
When the pitch is melted and cooked, I pour it through a mesh sieve to remove any large impurities.
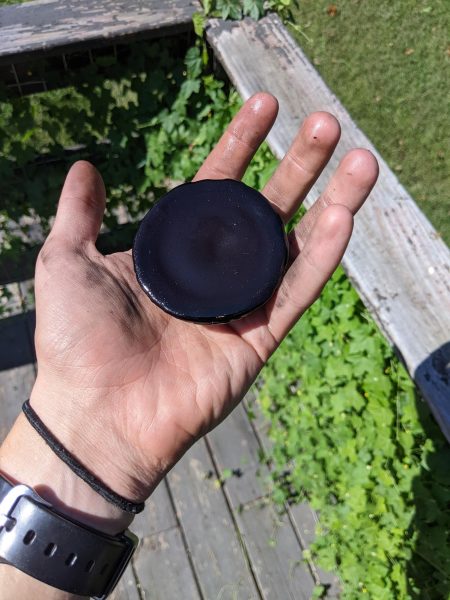
After filtered, it is poured into a grease-lined metal container and once hardened, the pitch is finished.
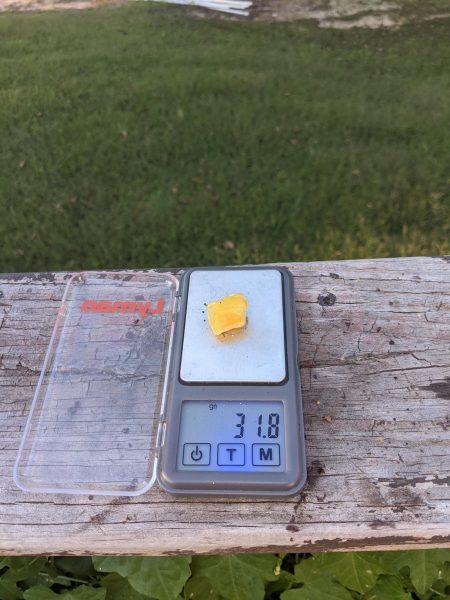
To make the actual wood finish, I start by measuring two equal parts by weight of linseed oil and pine pitch.
Following that, I place the pine pitch in the can to melt. When the pitch is melted, I add the linseed oil, mixing till combined. At this point, I may add ⅛th in volume beeswax if I want a thicker finish.
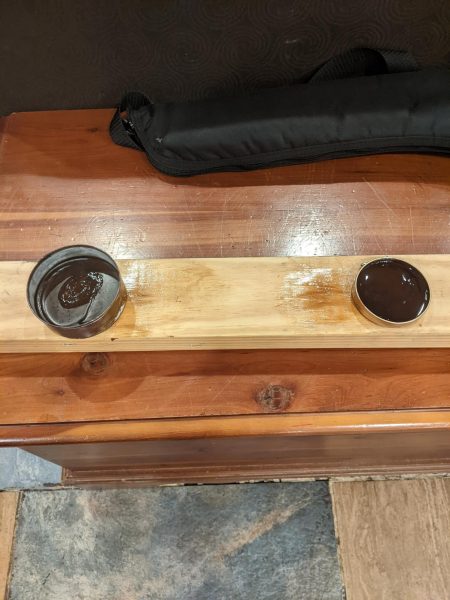
Assuming I have not added wax once cooled, the product is a thick honey texture finish.
With wax, I get a thicker lip balm textured finish. Both can be used interchangeably. When applied to wood, it leaves an amber colored water repelling stain.
Here you see unfinished pine next to finished pine that is aged.


Damian D. • Oct 23, 2024 at 9:29 am
Great job, Zachary! I’ve tried to make tar before, but it never worked. I’m glad you are able to get such impressive results and such a useful product!